Coloring Chocolate Bonbons: Tips and Techniques
If you are a chocolate lover, you may have seen beautifully painted chocolate bonbons in specialty stores or online. Have you ever wondered how to make them yourself? Well, you are in luck, because in this blog post, we will break down the process of coloring chocolate bonbons by reformulating the question "How do you color?".
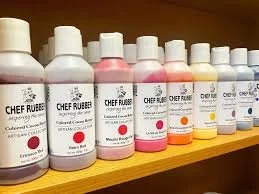
Before we dive into the fun part of painting chocolate bonbons, let's quickly recap some of the basics. In our previous blog posts, we discussed the differences in cocoa butter collections and how to melt colored cocoa butter. Now, it's time to explore the creative process of painting. While it may seem daunting at first, there is no wrong way to do it. With practice and patience, you can master the art of chocolate bonbon painting.
So, let's get started! There are various methods for using colored cocoa butter, including painting with paintbrushes, airbrushing, sponges, and even finger painting. One of the most popular and simplest ways to use cocoa butter colors is by using a paintbrush. Teklon brushes are a common choice in various sizes, but you can also use brushes with stiffer bristles or even toothbrushes to create a splatter effect. To keep the brushes in a liquid state, keep a candle warmer nearby and melt down the cocoa butter as needed.
Another method is airbrushing with colored cocoa butter. This application allows you to cover more surface in a short amount of time and create many different techniques, such as an overall coverage, splatter, and velvet effect. For best results, use a higher horsepower compressor and a larger nozzle tip to avoid any clogging. You may also want to keep a heating pad or heat gun handy to keep the nozzle tip warm and prevent the cocoa butter from solidifying.
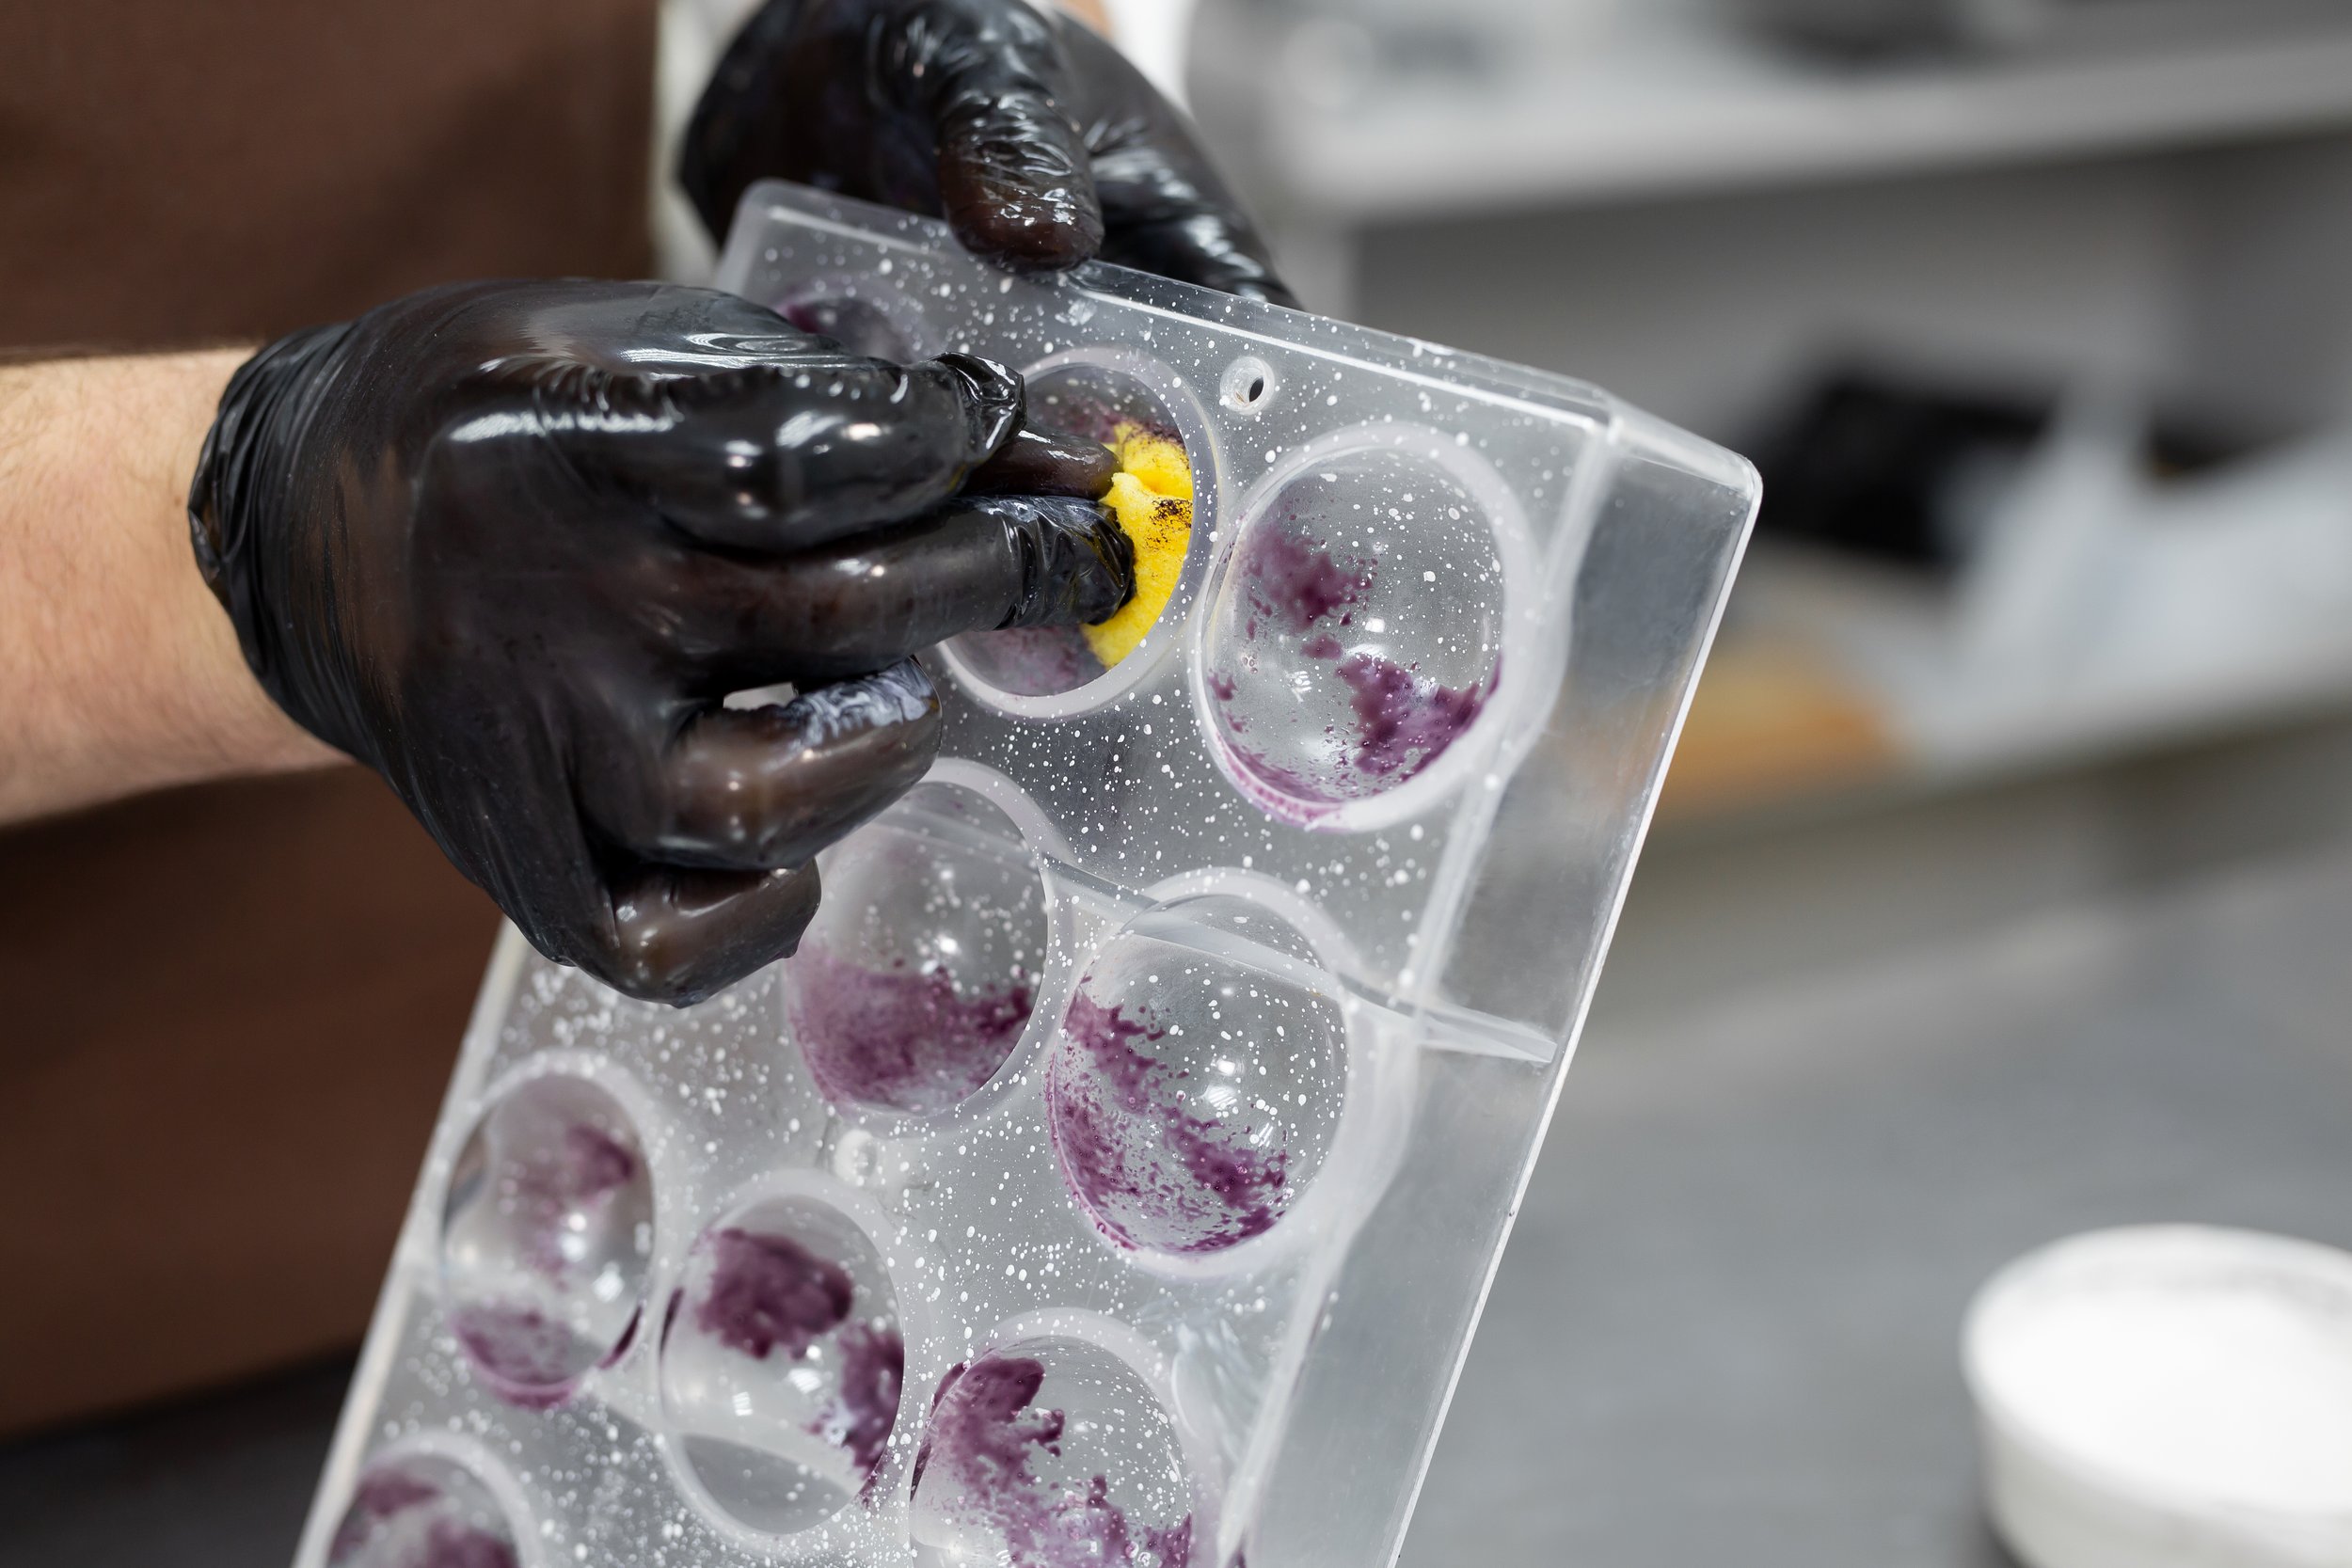
The sponge is another favorite tool in the industry for adding color to chocolate bonbons. It creates an even, professional look without needing to use an airbrush gun. You can dip the sponge in the cocoa butter color and create a smooth effect by using a swift hand motion. You can achieve various effects, such as faux finishes, marbleizing, texturing, sponge painting, stippling, and more, with a dense natural sea or synthetic sponge.
Believe it or not, finger painting is the easiest method of applying color. It is fast, convenient, and fun, and it helps you learn how colors work, especially when mixing colors together. Finger painting also adds a layer of personality by using your hands to create a personal, unique design.
Now that you know the methods for coloring chocolate bonbons, let's dive into some tips and tricks. You can use colored cocoa butter to tint white couverture and create unique pastel shades by adding white cocoa butter color to other colors. It is essential to use cocoa butter-based products when using cocoa butter colors for the color to stick and set up correctly. Allow cocoa butter colors to set up before layering, and depending on the design, start with the lightest color and work up to the darkest, or vice versa. You can also back colors with white cocoa butter color for an extra pop of color. If cocoa butter is thrown out of temper, simply re-temper it to reuse.
Source @Callebaut
You can get creative with the tools and equipment you use for coloring chocolate bonbons. You can use rubber stamps to create your own unique stamps and flood them with cocoa butter to stamp away on molds, acetate sheets, and more.
A warming box is an excellent tool to keep the colors in a tempered liquid state, and running plain cocoa butter through your airbrush gun can help clean it out before switching colors.
In conclusion, coloring chocolate bonbons is a fun and creative process that requires practice and patience.


